Plumbing problems can prove costly, but there are some jobs that you can handle yourself. And one of those problems is a clogged sink, something nearly every homeowner experiences from time to time.
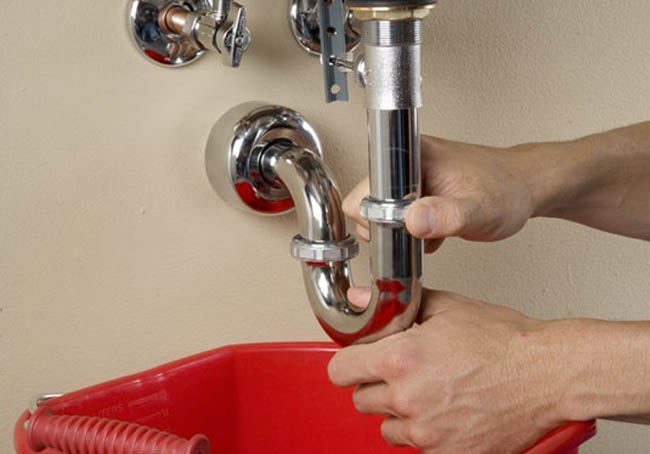
On occasion, the sink clogging can be resolved by replacing the drain pipe or trap that is located directly under the sink. With a few tools and new parts at the ready, you can accomplish this job in as little as 20 to 30 minutes.
1. Buy your parts
Any hardware or home center will sell a complete drain trap assembly. If one of the parts leaks, plan on replacing the entire assembly as you want to guarantee a sure fit. Traps are sold in ABS, PVC and brass; replace your trap with a like trap, choosing 1.25-inch or 1.5-inch diameter size to match the one you are replacing. Buy some pipe lubricant if you do not have some on hand.
2. Assemble your tools
You will need a pair of slip joint pliers to get this job done. Also, if the pipe is stuck, you may need a hacksaw to cut it apart. Keep a can of WD-40 nearby.
3. Shut off the water supply
Turn off the water supply at the sink. Alternatively, shut off the main connection.
4. Remove the old assembly
If you are lucky, the entire drain trap assembly will loosen quickly with the help of your pliers and a few twists of the wrist. For especially stubborn traps, spray WD-40 at the connection points. Failing that, you will need to make use of your hack saw.
5. Attach the new assembly
Once the old assembly has been removed, the new assembly should take just minutes to put in place. Take the flared end of the trap’s tailpiece and connect it with the bottom of the sink. Use a screwing slip nut to connect to the sink strainer. Make sure that a washer is in place. Continue to attach the remaining sections, making use of slip nuts and washers to ensure a tight grip. Attach the last piece of the assembly to the drain stub-out. Check your connection and tighten loose fittings with your pliers.
6. Turn on the water
Turn the water connection on. At the sink gradually turn on the cold water and inspect underneath the sink for drips. Tighten as needed and turn off the faucet. Clean up your job and put your tools away.
Avoiding Clogs
Now that you have your new sink in place, clogs should be a thing of the past. Well, no — you still need to keep your pipes cleared out. One way to do this is to keep a wire brush handy. From time to time you can snake the drain to clear it. You can also turn off the water, disconnect the drain trap assembly and clean it out that way.
There are also a number of cleaning solutions you can buy that can be poured down your sink from time to time. Or, you can make your own solution from stuff you already have in your house including white vinegar and baking soda. Every 2 to 3 months, pour a half to a full cup of baking soda into the drain. Gradually pour the same amount of white vinegar down the drain too.
That combination will cause your pipes to bubble and foam, with the combined material gradually working its way out through your pipe, cleaning the same. Use this method kitchen and bathroom sinks alike. For a toilet, you will want to remove as much water as possible before you undertake a similar unclogging job.


