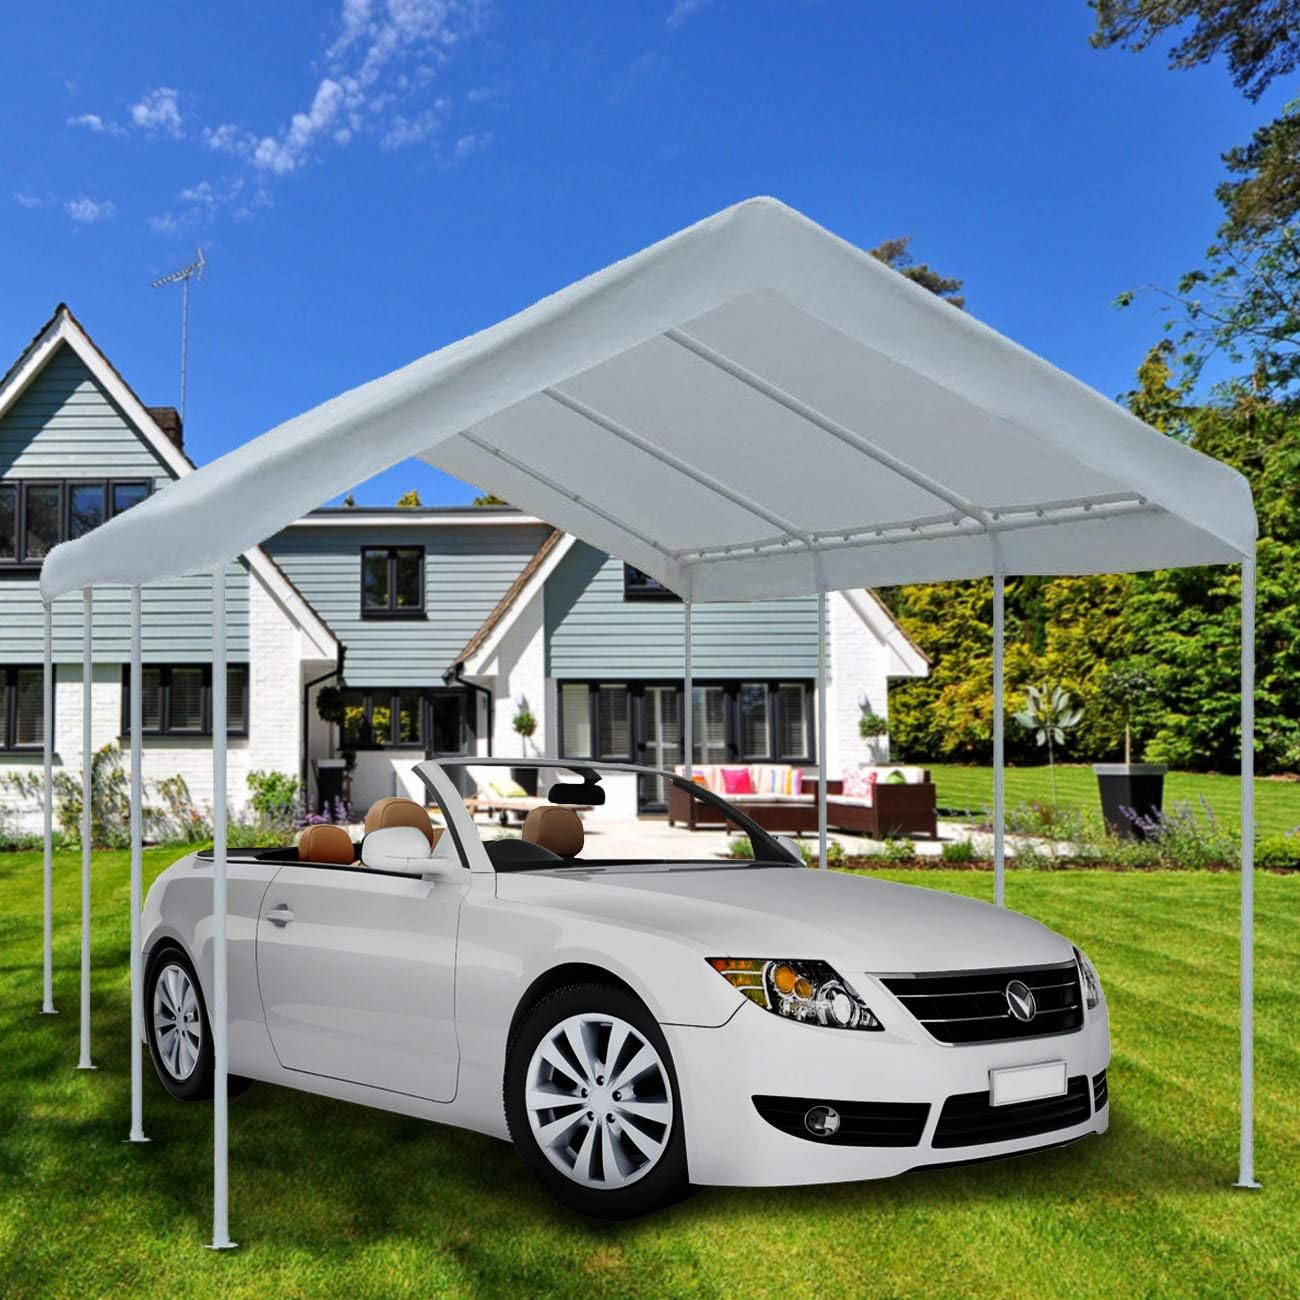
Metal Waterproof, Fire Retardant 6 Legs 10x20ft. Canopy Carport 20Lx10Wx8H ft. (Included Canopy, 6 legs)

ShelterLogic All-Steel Metal Frame Instant Garage and AutoShelter with Waterproof and UV-Treated Ripstop Cover

Arrow 20' x 20' 29-Gauge Metal Carport with Steel Roof Panels, 20' x 20', Charcoal

Abba Patio Extra Large Heavy Duty Carport with Removable Sidewalls Portable Garage Car Canopy
Abba Patio 10 x 20 ft Outdoor Carport Car Canopy Portable Garage Shed

Ikuby All Weather Proof Medium Carport, Car Canopy, Car Shelter, Car Garage, Car House, Car shed, Car Park
(a Carport, Car Canopy, Car Shelter, Car Garage, Car House, Car Shed, Car Park)
Next to a home, a car is generally the biggest expenditure a person will make. Protecting this investment from the elements not only extends the life of the car, but also protects it from sun, snow and wind damage. While a garage is optimal, some do not have the space or money to add a garage. An economical and easy alternative is to build a carport.
1. Safety
Carports are covered parking spaces that are generally attached to the home, but not enclosed by walls on four (4) sides. Not only do they provide a safe place for the car, they can provide protection to passengers from the elements when getting in or out of the vehicle. Carports can also provide additional covered storage for the home.
2. Prior to building a carport
Homeowners must check with their local building department to find out if any specific permits are needed and the exact building code for such a structure. For instance, many communities require a fire wall to be built if the carport is attached to the home or will border the property line. If the home is a condominium or is in an area with a homeowner’s association; be sure to investigate any requirements those groups may have, such as submitting the plans so they can be approved by the board.
When selecting the site for the carport, not only does it need to accommodate the vehicles. But it also needs good drainage and be able to provide protection from the elements. While it might seem like a good idea to attach the carport to the rear of the home; if there are many large trees and strong winds are common, it might be better to find an alternate site. Generally, a twelve by twenty foot area is adequate for one car; while a twenty by twenty area is needed for two cars. The home should be tall enough so that an eight foot high carport roof will sit below the home’s roofline; and allow the carport’s roof to slope away from the home.

3. Design
While gravel can be a good floor for carports in some areas; the best design is a concrete slab at least four inches thick. Many areas have specific codes regarding the thickness of the slab requiring they be at least a foot thick. The rafters and beams should be made from treated lumber to protect it from water damage. The roof can be made of half inch thick plywood or corrugated aluminum. While the aluminum does not need to be treated and is easy to care for; wasps are attracted to the aluminum and like to build nests in the rafters, which can be difficult to destroy.
4. Added Value
Great Aussie Patios Carport Builders can add a carport that provides excellent value and gives homeowners a place to protect their car and passengers; as well as external protected storage for the home.
How to Build a 20 x 20 Carport
Building a 20 x 20 carport is a rewarding DIY project that offers both protection for your vehicles and added value to your property. Whether you’re an experienced DIY enthusiast or just starting out, this guide will walk you through the process, providing detailed instructions, essential tips, and expert insights to ensure a successful project. Let’s dive into the step-by-step guide on how to build a 20 x 20 carport.
Clearing and Preparation
Before you start building, clear the area where your carport will be located. Remove any debris, plants, or obstacles to create a level foundation. This will ensure a stable and even base for your carport.
Gathering Materials and Tools
To build a sturdy carport, you’ll need the following materials:
- Pressure-treated lumber for the frame
- Galvanized steel roofing panels
- Concrete and gravel for the foundation
- Concrete anchors
- Nails, screws, and brackets
- Waterproof sealant
Tools you’ll require include:
- Circular saw
- Hammer
- Screwdriver
- Measuring tape
- Level
- Drill
Creating the Foundation
- Measure and mark the dimensions of your carport on the ground.
- Dig holes for the corner posts, ensuring they are deep enough to provide stability.
- Pour concrete into the holes and insert the corner posts, making sure they’re vertical and level.
- Allow the concrete to cure before proceeding.
Building the Frame
- Cut the pressure-treated lumber to the required lengths for the frame.
- Assemble the frame by connecting the posts and beams using brackets and screws.
- Attach joists to the frame, evenly spaced, to provide support for the roofing panels.
- Use a level to ensure the frame is square and plumb.
Installing Roofing Panels
- Place galvanized steel roofing panels on top of the frame.
- Secure the panels using screws and washers, leaving an overhang on all sides for proper drainage.
- Apply waterproof sealant along the seams to prevent leaks.
Adding Finishing Touches
- Install gutters along the edges of the roof to direct water away from the carport.
- Paint or stain the frame and posts to protect them from the elements.
- Add concrete anchors to secure the carport to the foundation, providing extra stability.
Expert Tips for a Successful Carport Build
- Check local building codes and regulations before starting your project to ensure compliance.
- Choose quality materials to ensure the longevity of your carport.
- Consider adding side panels or walls for additional protection from the elements.
- Regularly inspect and maintain your carport to prevent issues and extend its lifespan.
FAQs
Q: Can I customize the size of the carport to fit larger vehicles?
A: Yes, you can adjust the dimensions to accommodate larger vehicles. Just ensure that the structural integrity is maintained.
Q: Do I need a building permit to construct a carport?
A: The requirement for a building permit varies by location. It’s recommended to check with your local authorities before starting the project.
Q: How long does it take to build a 20 x 20 carport?
A: The construction time depends on your experience, availability, and weather conditions. On average, it may take a few weekends to complete.
Q: What’s the best roofing material for a carport?
A: Galvanized steel roofing panels are a popular choice due to their durability and weather resistance.
Q: Can I attach the carport to my existing house?
A: Yes, you can connect the carport to your house, but it requires careful planning and may have specific regulations.
Q: How do I ensure proper water drainage from the roof?
A: The overhang of the roofing panels and the installation of gutters will help direct water away from the carport.
Conclusion
Building a 20 x 20 carport is an achievable and rewarding DIY project that offers numerous benefits. By following the step-by-step guide and incorporating expert tips, you can create a functional and attractive carport that enhances the value of your property while providing protection for your vehicles.